In the process of silicon carbide discs from raw materials to final high-precision products, cutting, as the primary processing step, not only bears the heavy responsibility of shaping its final shape, but is also a crucial link in the entire processing process. This process not only tests the accuracy and stability of the equipment, but also requires the operator to accurately control every detail to ensure that the silicon carbide disc can perfectly meet the design requirements and move towards a higher level of application.
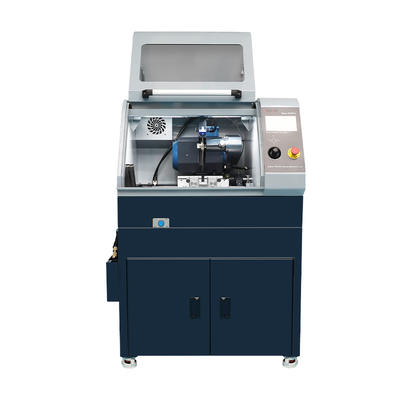
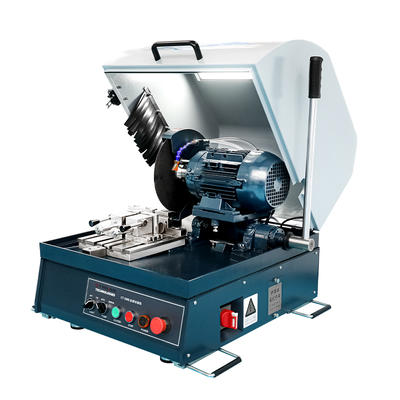
Cutting, a seemingly simple physical process, contains complex science and art in the processing of silicon carbide discs. As the first step of processing, the accuracy of cutting directly determines the difficulty of subsequent processing and the quality of the final product. Therefore, choosing high-precision cutting equipment has become the primary task of this step. These devices are usually equipped with advanced CNC systems and precise transmission mechanisms, which can achieve precise control and adjustment of cutting parameters to ensure that each cutting can achieve the accuracy required by the design.
During the cutting process, the sintered silicon carbide disc is placed on the workbench of the cutting equipment and accurately divided according to the design requirements. In this process, cutting speed, feed rate and the use of coolant have become key factors affecting the cutting effect. Too fast cutting speed may lead to rough cutting surface and reduced dimensional accuracy; too large feed rate may increase cutting difficulty and even damage cutting equipment; and the use of coolant is directly related to heat control and cutting surface quality during cutting. Therefore, operators need to carefully adjust these parameters according to the material characteristics, thickness and design requirements of silicon carbide discs to achieve the best cutting effect.
The flatness and dimensional accuracy of the cutting surface are important criteria for measuring cutting quality. For silicon carbide discs, these two indicators are directly related to the difficulty of subsequent processing and the performance of the final product. Therefore, during the cutting process, operators need to pay attention to the state of the cutting surface at all times, and ensure that the cutting surface is flat, crack-free, burr-free, and achieves the dimensional accuracy required by the design by adjusting cutting parameters and observing cutting effects. This process requires not only rich experience and superb skills of operators, but also a high sense of responsibility and rigorous work attitude.
In order to ensure cutting quality, quality control must be carried out throughout the entire cutting process. Before cutting, the cutting equipment and silicon carbide discs need to be strictly inspected and tested to ensure that the equipment is in the best working condition and the discs are defect-free and undamaged. During the cutting process, the cutting parameters and cutting effects need to be monitored in real time to detect and solve problems in a timely manner. After the cutting is completed, the cutting surface needs to be inspected and measured in detail to ensure that it meets the design requirements. Only through this series of strict quality control measures can the silicon carbide discs maintain stable performance and quality in subsequent processing.
As the first step in the processing of silicon carbide discs, cutting is of self-evident importance. Through high-precision cutting equipment and strict quality control measures, operators can accurately divide the sintered discs according to the design requirements, laying a solid foundation for their subsequent processing. This process not only demonstrates the exquisite craftsmanship and innovation capabilities of modern manufacturing, but also provides a strong guarantee for the development of silicon carbide discs in high-end application fields such as aerospace, electronic information, etc.

 中文简体
中文简体 英语
英语 西班牙语
西班牙语 德语
德语
